Thinking in years rather than seasons

Things are slowing down a bit in terms of gardening, and we started making plans for what we would like to do next year. Gardening is the definition of slow-living, you can plant things but you have to wait for them to grow. Last year we planted some small trees and shrubs from Hardy Fruit Tree Nursery that were around 1-3 feet including a basket willow. I was unsure about how successful they would be as they looked like sticks when we planted them. However, a year later that same basket willow has surpassed me in height, and is inching towards six feet. We also planted wild strawberries last year that didn’t look like they were doing very well, but they amazingly not only survived the winter, but graced us with berries for the first couple of weeks in June (in my excitement I forgot to take a proper photo!)

Last week, a couple in the village welcomed us into their house on a day of particularly loud construction. They have a lovely garden that spreads over a couple of acres. The wife asked me if I would like some plants from her garden as they had begun to overcrowd one another. It was difficult to tell where one plant ended and another begun. From that I learned the importance of considering spacing when planting flowers and other perennials. While areas of our garden appear quite sparse right now, in a few years I imagine the plants will continue to fill out and spread. Even in the past year, I’m amazed to see that bee balm and daisies that I planted have spread by at least half a foot! In that sense, while it is desirable to try to finish our garden as fast as we can, even within a year like Monty Don’s ‘Big Dreams Small Spaces’, I’m learning that it’s a process that will develop over the years. We have decided to think more long term when it comes to our garden, thinking about what we want over the next few years, rather than only thinking about ‘now’.

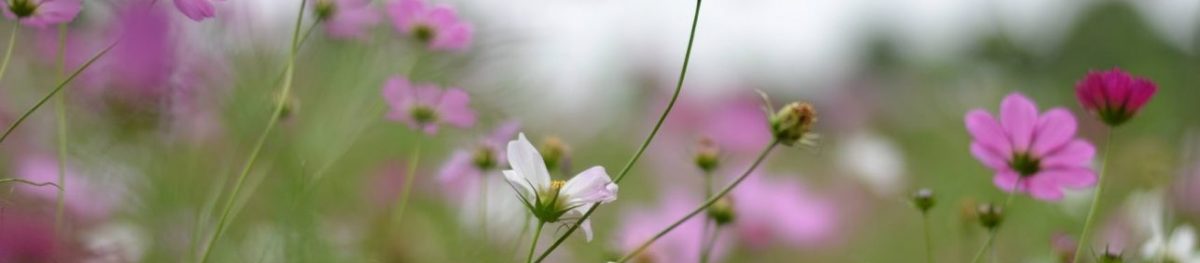
There are areas of our garden this year that we have decided to leave for now, mainly focusing on annuals like cosmos. With a baby, our time is really quite limited and while the space we have is modest compared to a lot of other folks in the country, it’s a bit overwhelming for us. There are other areas that are currently covered with wild carrot and nettles that we plan to cover with cardboard in the autumn. In many of those areas we planted things that were given to us, that appear dead or dying now – but will likely begin to thrive next year. We hope to work on that garden more in the future. It’s nice to have something to look forward to! It’s also good to avoid putting too much pressure on ourselves by thinking in years rather than days or months. I’m amazed by the progress we have made in our year and a half here, and am excited to see how the garden will change in the coming years.

We planted cedar trees that will eventually become a cedar hedge. Because the area will be semi-shade in the future, rather than planting anything permanent we planted some cosmos.

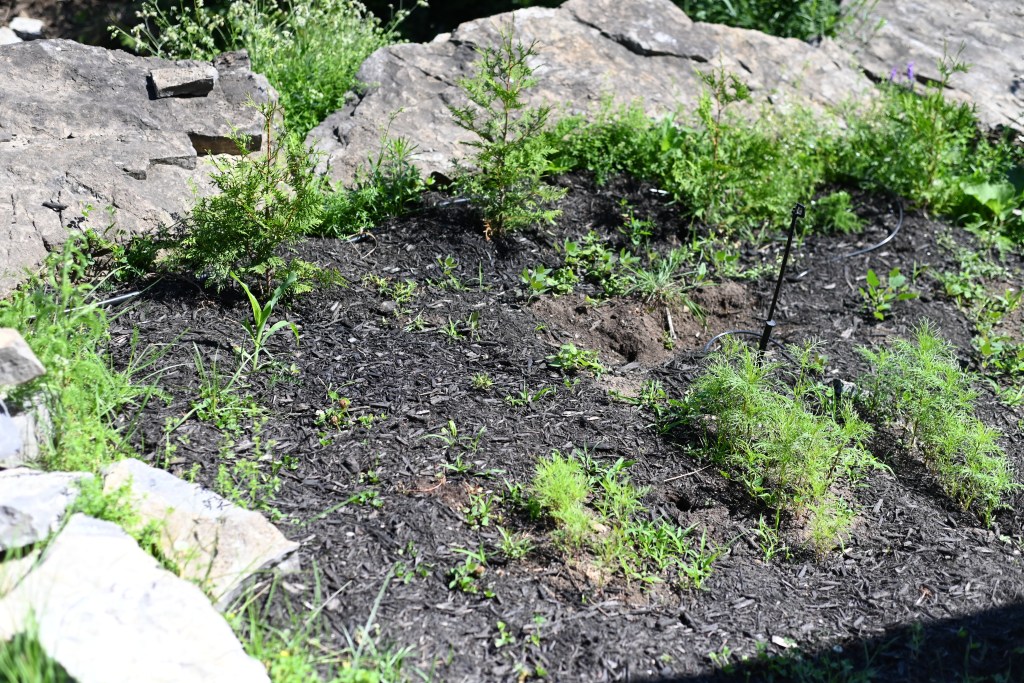
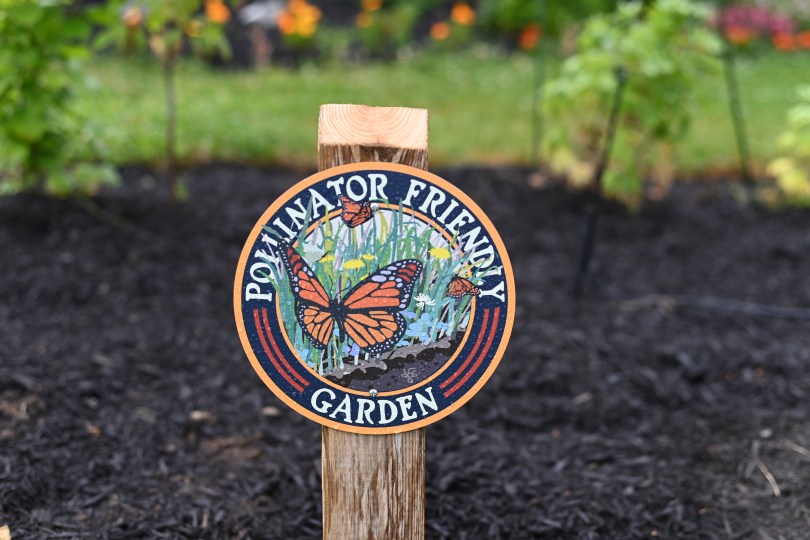
One change we made in the past few weeks was dig out space for a new garden that will focus on pollinator attracting natives. We ordered some plants from Ontario Native Plants that we look forward to getting including foxglove, echinacea, and Canada anemone. In the meantime we transplanted some delphinium from the back of our house and also planted some phlox moss and wild geranium that we were gifted. It looks pretty sparse right now, and I’m sure that some folks might think us odd for having a lot of clover, and gradually removing our lawn. We put up a sign in the new garden declaring it as pollinator friendly. I’m not sure if anyone will notice our sign, but it would be interesting if some folks begin to look into what that means and decide to make their own pollinator friendly gardens. I’m also considering adding little nameplates beside each of our plants so that folks can learn more about native plants.

We recently put up a nest for solitary bees, which are native bees in Ontario that need some help. I’m still learning the benefits of having bees, but think it’s lovely that by both attracting and helping pollinators we will end up with a more beautiful garden. I noticed that our winterberry tree that we planted last year is currently flowering and attracting lots of little bees!

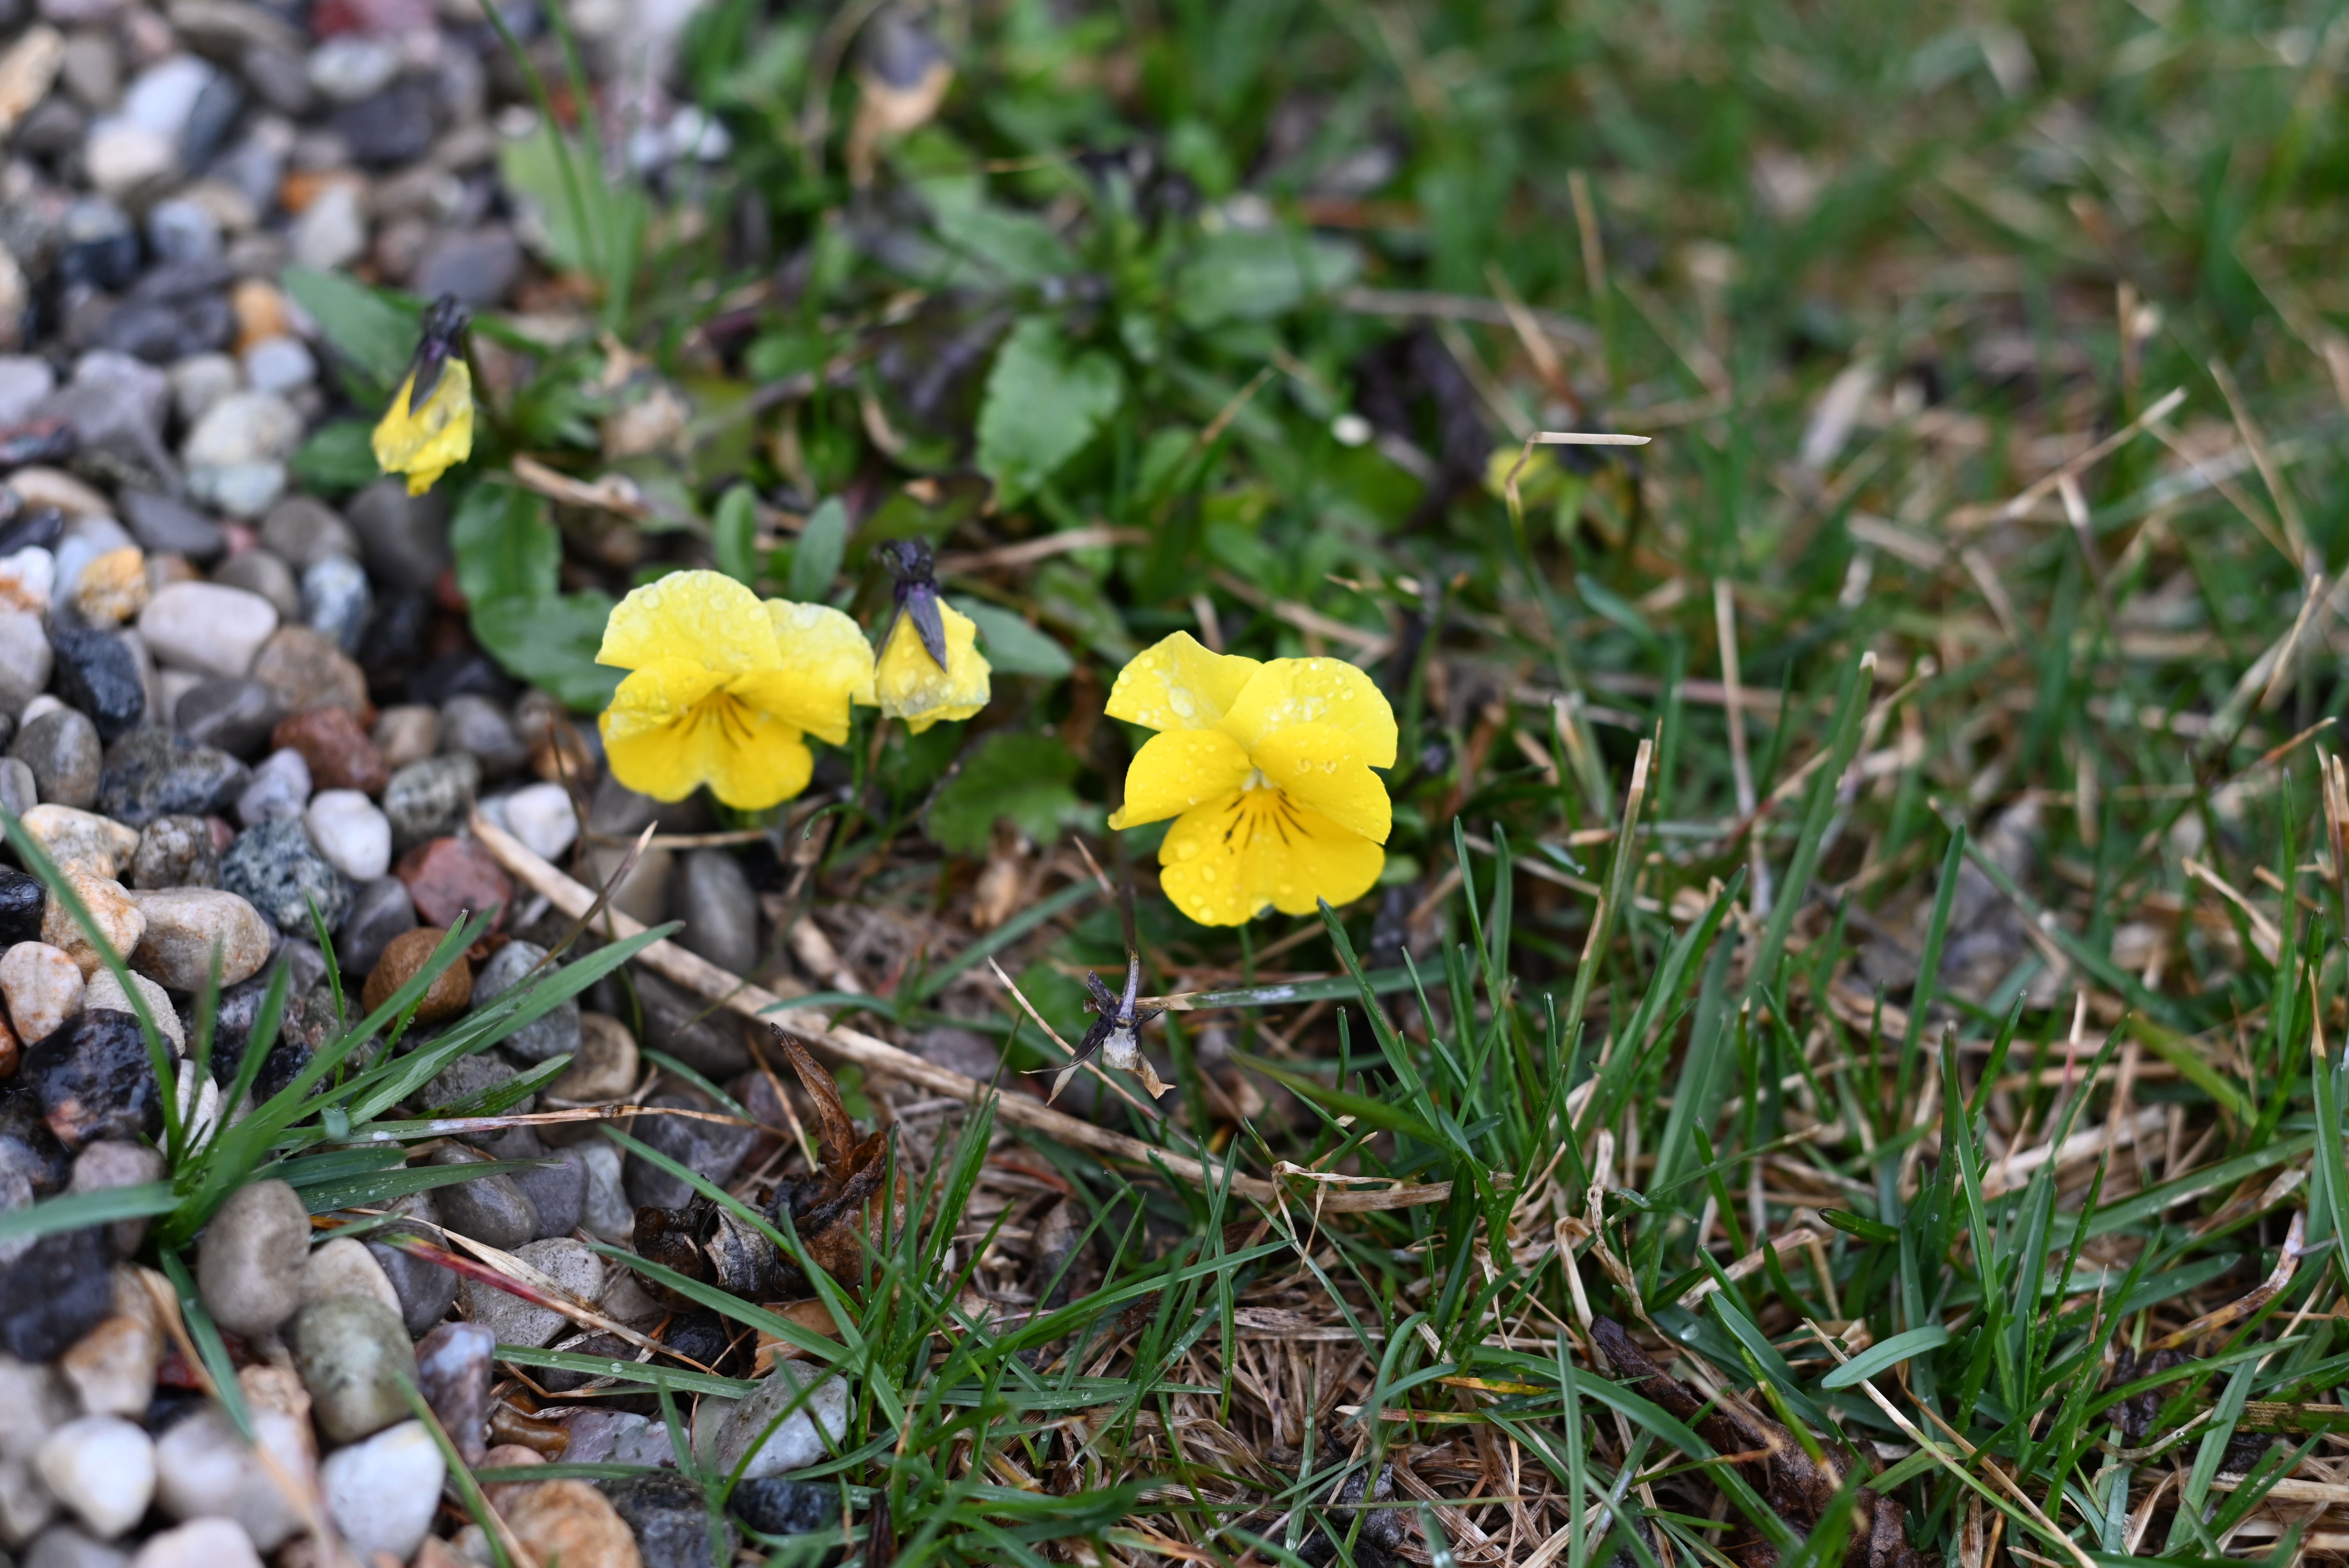
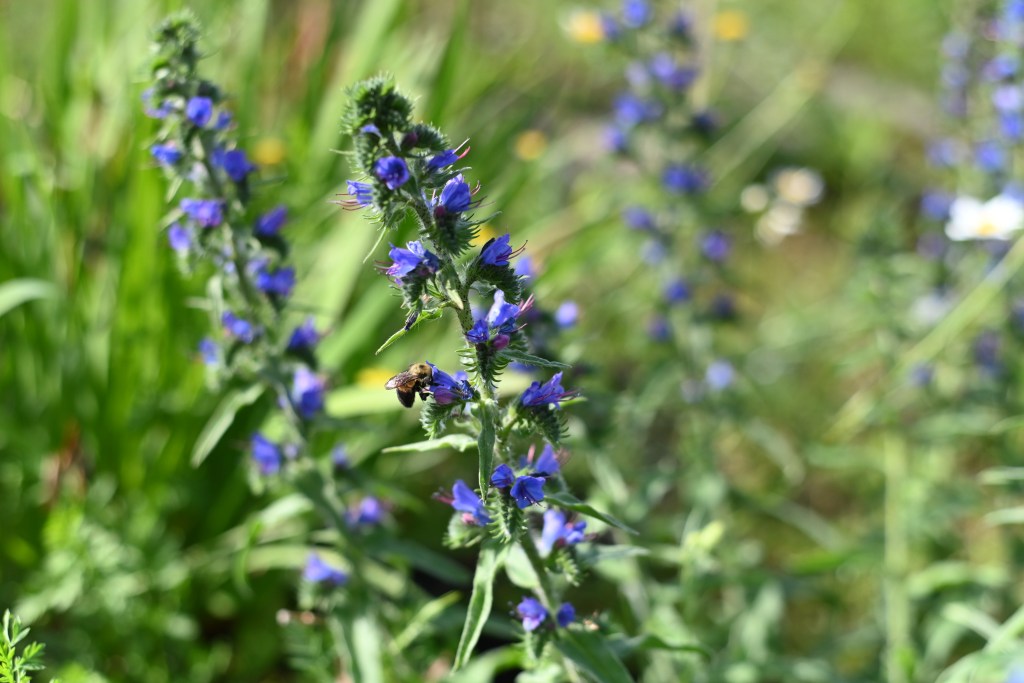
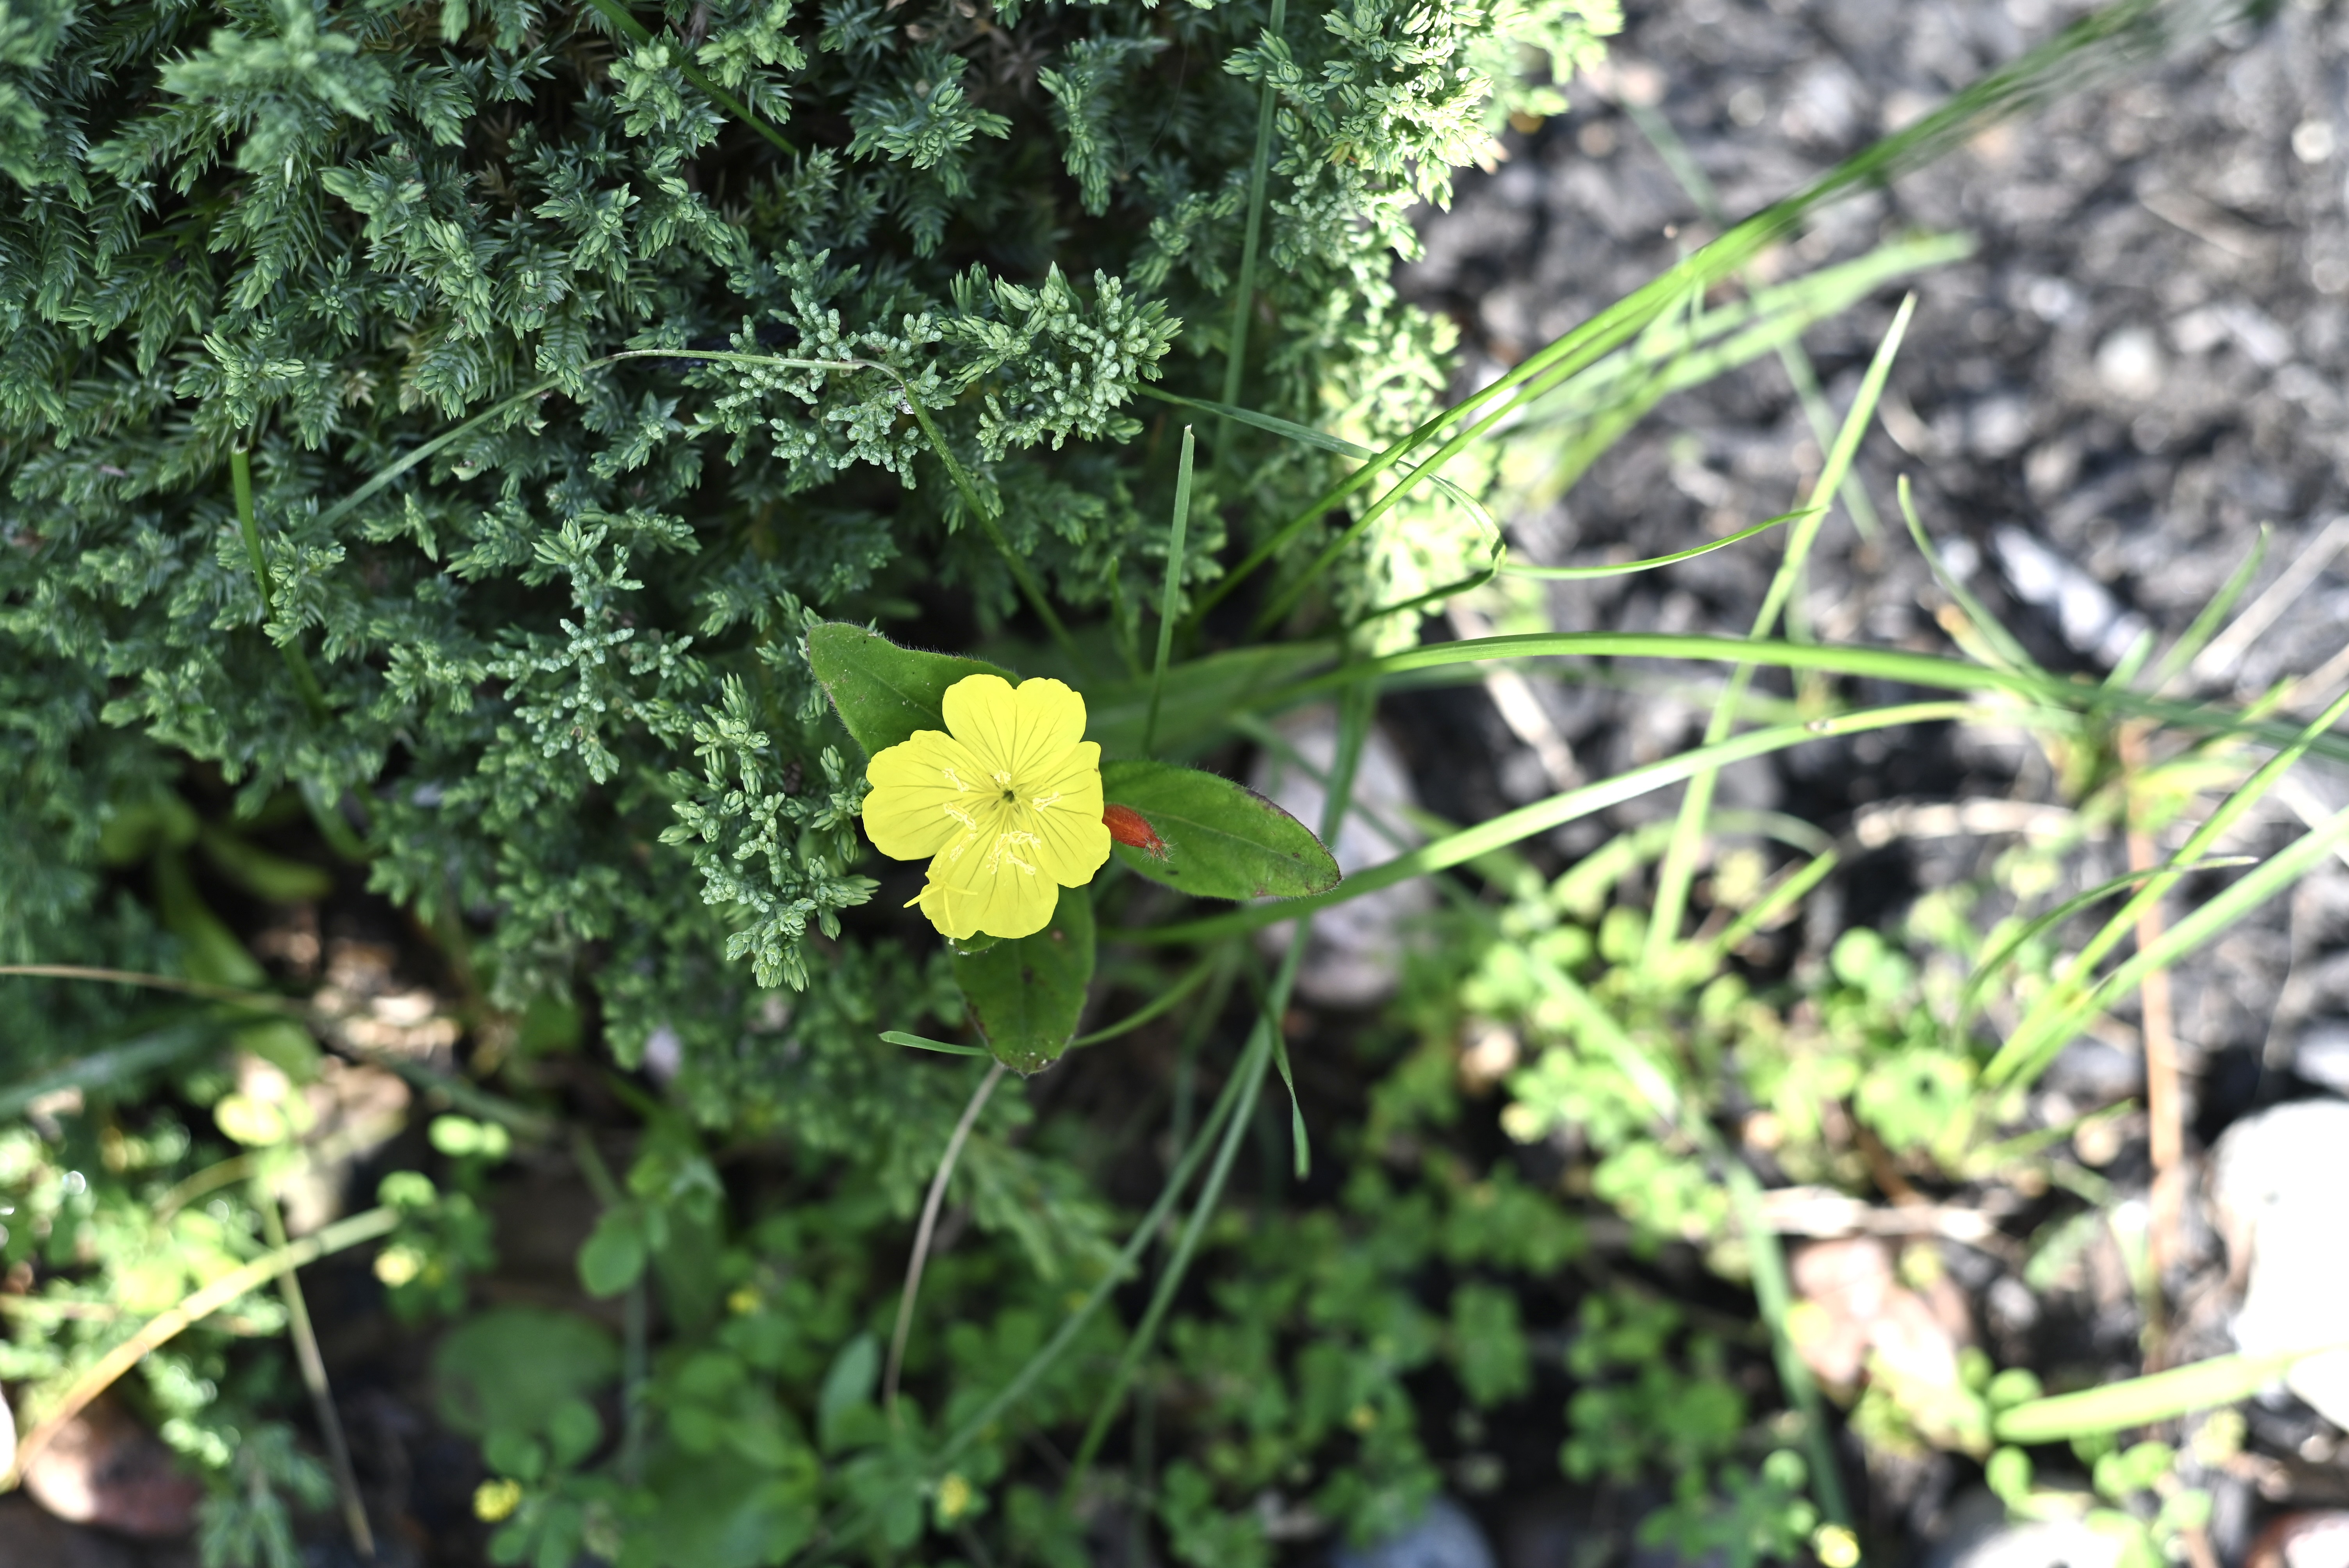
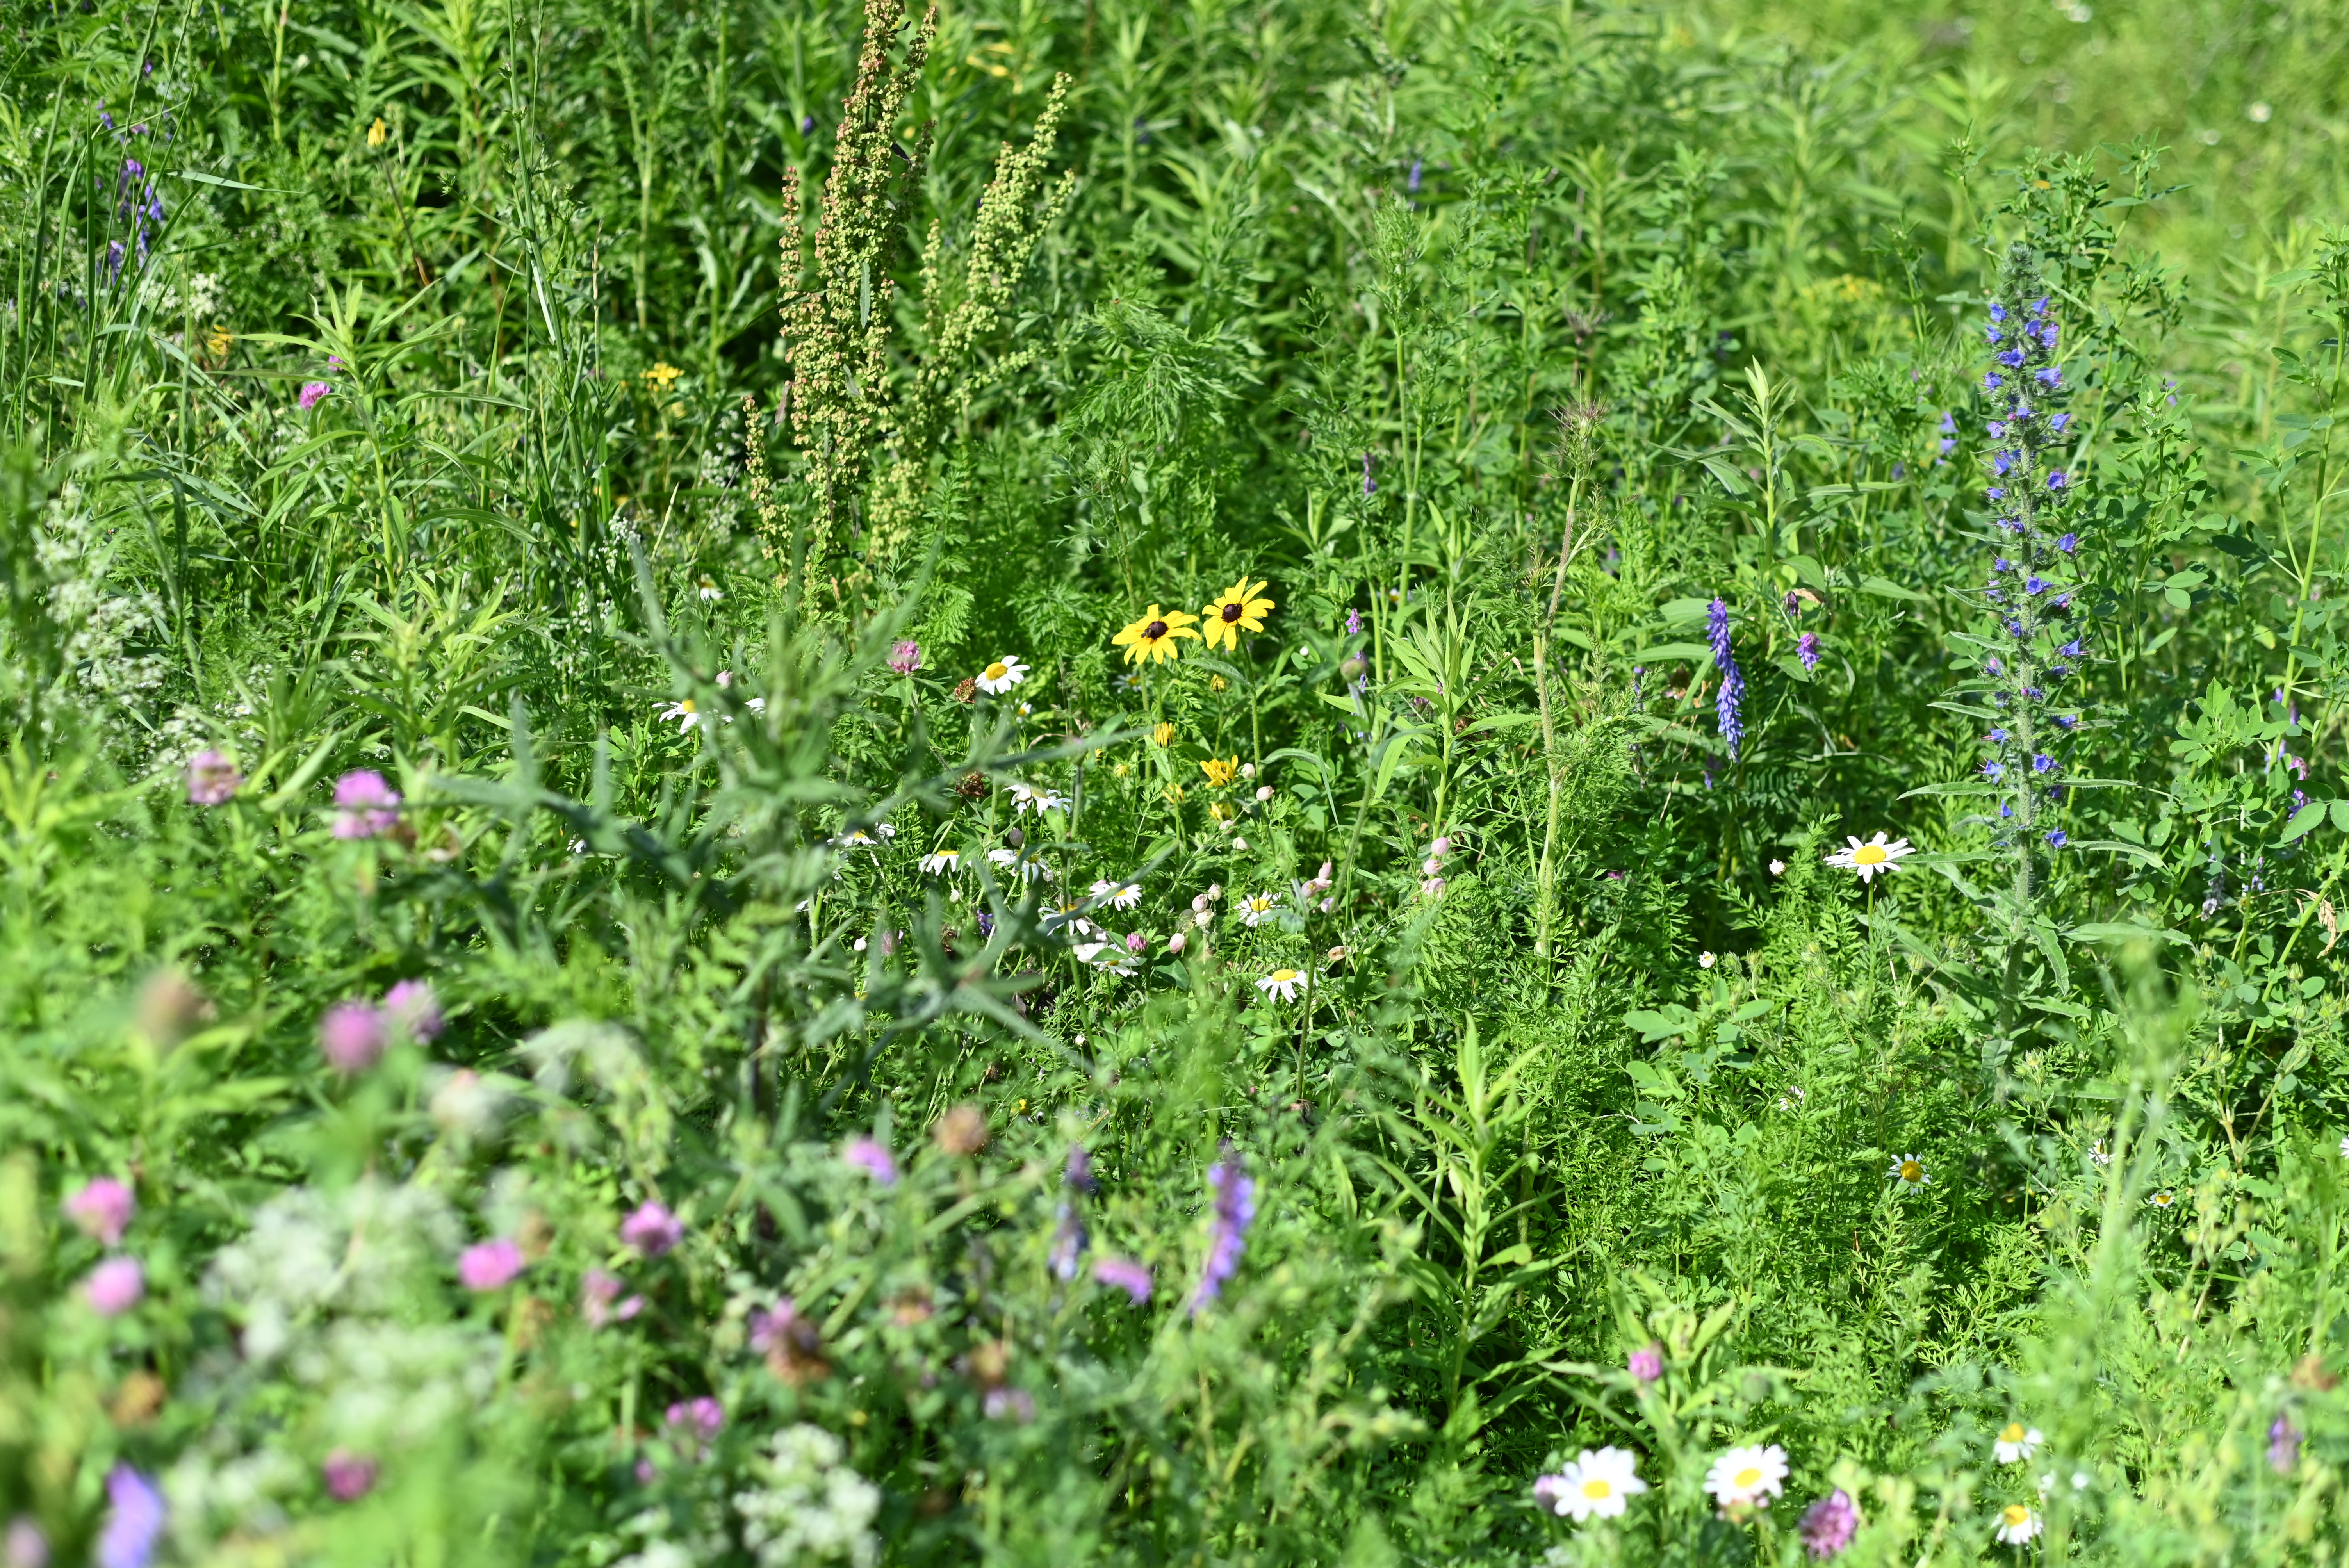
Finally – another unconventional thing I’ve been doing is waiting more before pulling things out of our garden to see what they might be. We live beside a field of wildflowers so it’s interesting to see that some of the flowers have seeded into our garden. From this practice I have been pleasantly surprised to find wild daisies and primrose appearing! I also found some viper’s bugloss or blue weed in our garden – which is currently blooming all around us. It’s apparently a plant that originally came from Europe but has become naturalized in every province in Canada. I found it interesting that viper’s bugloss appears on both ‘Ontario Wildflowers‘ and ‘Ontario Weeds‘ websites – telling on the importance of different perspectives. While it isn’t from Ontario originally it does seem to attract bees, butterflies and hummingbirds.

I’m happy that the village we live in already has a lot of gardens that appear more wild or natural than what you might see in some other areas. It’s honestly a bit intimidating to do something visibly against the grain, but I have been humbled by the amount of people who have stopped by to compliment our garden so far. I hope we’re able to make it more and more beautiful over the coming years.

Until next time!

Misadventures in backyard composting.

Last year, my husband and I had our first, and somewhat failure of an attempt of making compost from kitchen scraps. Despite all the things I love about living in this village, one thing that I find a bit unfortunate is that there is no program for collecting compostable waste. You can drop your compost and garden cuttings off at the local dump, but there isn’t a program specific to recycling kitchen scraps like Ottawa. After spending the last couple of years using Ottawa’s green bin program – and prior to that using Japan’s extensive recycling program, I couldn’t help but feel guilty about throwing our kitchen scraps into the trash. On that note, we decided to buy a backyard composter.

I remember growing up my parents had a compost machine in our backyard. It was a black cone like structure that opened on the top, where you would add new scraps whenever you had them. The bottom of the pile gradually became compost that you could use in the garden. Rather than using that method, we decided to buy a rotating compost machine from Lee Valley. The idea is that you put your organic waste into one vessel and then once it fills up, start using the other vessel. You wait for the first vessel to age, rotate it now and then, and voila! compost! Or that is how it should have gone. To start, we looked up the different things you can and cannot put into a composter. For example, you’re not to put animal byproducts such as dairy or meat – or else you can attract some unwanted critters. Onions and garlic take a longer time to compost so are for the more advanced composters. Things such as bananas are good for adding potassium, etc. While we were optimistic about composting, we were also distracted with my pregnancy, and what started as a project with good intentions turned into throwing multiple ears of corn into both sides of the compost machine. We also naively threw in so-called ‘compostable’ bags. As the summer days went on, and my fatigue increased, the composter became a smelly neglected box that attracted flies. So it goes.

And yet, we are undeterred! This year we have decided to start again. On a sunny afternoon last week, during one of my son’s naps, we took a hesitant (and slightly terrified) peak into the composter. My husband kindly reached in and pulled all of the contents out. What we found was that many of our vegetable scraps like carrots and radish peels had dissolved into humus (success!). That being said, the corn stalks remained pretty much intact and the “compostable” bags were also very much still there. Tricked again by green-washing. Unfortunately I do not have any photos.

In order to start a new, we have decided to try out a revised list of things we’ll put into our compost. We also switched to using a steel bucket, without any devious plastic bags. We’re no longer going to add garden scraps like twigs or sticks to the compost. We’re going to focus on adding things like peelings from root vegetables, ground coffee, tea leaves, and fruits. I’ll check back in on our progress in a couple of months.

One thing I’m curious about – and considering – is whether it would be beneficial to add worms to our composter to speed up the process. I’ve seen this done for miniature composters in apartment buildings but wondering if the box would be too hot in the sun for them. If you know, please comment and let me know!

As an aside – the daffodils are starting to bloom in the garden. Leaves are starting to bud on our trees. And finally the irises and sedum are popping up! I’ll likely make another post next week.

Blue oyster mushrooms

Earlier this year, during the summer, my husband and I went to a farmer’s market outside of Ottawa. Come to think of it, it’s the only time we’ve been to a farmer’s market since the pandemic started. It was surreal lining up outside of the market wearing masks and waiting for hand sanitizer. At that time, wearing masks was still becoming a social norm and I felt a bit self-conscious. We did a loop around the market, picked up a braid of summer garlic, and some ears of peaches & cream corn.

While we were getting ready to leave, a farmer selling mushrooms caught my eye. We stopped to talk to him, he told us about the different mushroom varieties he grew and how he had taken a course on how to forage and grow mushrooms in the Kingston area. I was enamoured. I’ve always loved mushrooms. As a teenager I often went to the forest, camera in hand, taking macro shots of fungi. I’ve never been brave enough to forage mushrooms myself, however, someday I would love to take a course to better understand which are edible and which are not.

Photographing wild mushrooms in Canada

My fascination with mushrooms increased when I lived in Japan. In Japan, fruits and berries are often more expensive than they are in Canada. When I lived in Tokyo, I had a limited budget as a graduate student, which continued later as I became a teacher and freelance researcher. I couldn’t afford to buy fruits that I would typically buy in Canada, but I still wanted to eat healthily. I noticed that there was an abundance of mushrooms that I was unfamiliar with, at a very reasonable price, when grocery shopping. In Japan, at a typical supermarket you can find enoki, shimeji, shiitake, eryngii, and nameko, amongst other varieties of mushrooms. You also often encounter mushrooms when you go out to eat; they’re incorporated into stews, soups, rice dishes and omelettes. I personally often bought shimeji (one of the cheaper varieties) for dinner.

Boiled vegetables in Japan.

Coming back to Canada I missed the variety of Japanese mushrooms that were available to me before. I was still able to find enoki, eryngii, and even shiitake, but it was a little more challenging to find shimeji. On the other hand, I discovered that many mushroom varieties that I was unable to obtain in Japan were available here. When I met the mushroom vendor at the farmer’s market, I was excited about the possibilities of learning about different types of mushrooms (and maybe trying my hand at growing some of my own).

A few months later, I was reading a recent edition of the Edible Ottawa magazine, when I came across the Fungi Connection. They’re a mushroom farm in the Kingston area that develop a wide variety of mushrooms for local restaurants including lion’s mane, pink oyster, and blue oyster. Luckily for me, they also sell mushroom kits. I ordered my blue oyster mushroom kit a few weeks ago and picked it up at the farm. It was a strange looking white block that came sealed in a plastic bag. The farmer gave me some paper instructions and told me that I could contact her if I had any problems.

I later learned that the strange white block was actually a mix of mushroom mycelium and sawdust. Mycelium can be described as “the vegetative body for fungi that produces mushrooms“. According to Fungially mycelium can be thought of as a root system whereas mushrooms themselves can be thought of as fruit or flowers. You can learn more about mycelium here. In order to activate the mycelium and begin the ‘fruiting’ process, I had to cut three inch “X”s into the mycelium, mist the block, cover it with a humidity tent (clear plastic bag) and put it in a cool place with in-direct sunlight.

Over the past week or so, I have been dedicated to misting my mycelium block three times a day. For the first few days I was a bit skeptical, as it appeared that nothing was actually happening. However, one day seemingly dozens of tiny black heads began to sprout from the mycelium’s white surface. Hour after hour those heads grew in size, doubling day after day until the point that they began to flatten out.

The growth of my blue oyster mushrooms.

Once the mushrooms were large enough, I completed my first round of harvesting and made some spaghetti, which you can see below. I’m excited to try the mushrooms out with other recipes, there’s still quite a lot left, and even after we harvest all of this batch there should be two or more rounds. Once the mycelium block stops producing mushrooms we can compost the block in our composter.

While I’m still just beginning my journey of understanding mushrooms, in learning more about oyster mushrooms and mycelium I discovered Paul Stamets, a mycologist, and medical researcher intent on spreading knowledge about mushrooms. His YouTube channel is quite interesting, he also has done some Ted Talks that I recommend.